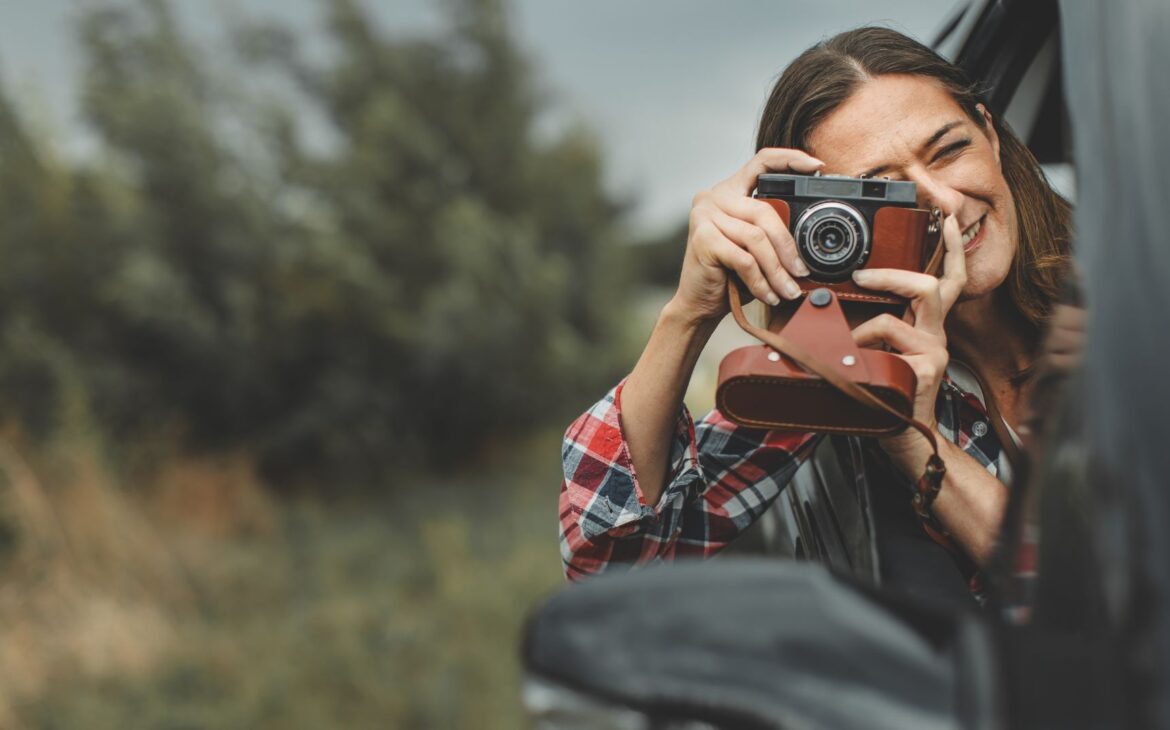
” The classic, if slightly corny, travel maxim “Take only photographs, leave only footprints” is a terrific reminder. The finest travel keepsake is a quality photo that will take you back to that unforgettable occasion. So how can you make sure your photos capture the spirit of your trip? There are a few simple techniques that everyone can learn to improve their photography tips for beginners, and what's more, you don't need a pricey camera to capture amazing pictures. Regardless of the equipment you're using, our very own James recently visited Brazil and snapped some stylish photos along the way. He has put up five excellent suggestions to ensure you come home with some fantastic photos! “
5 Essential Photography tips for beginners
1. Lightning
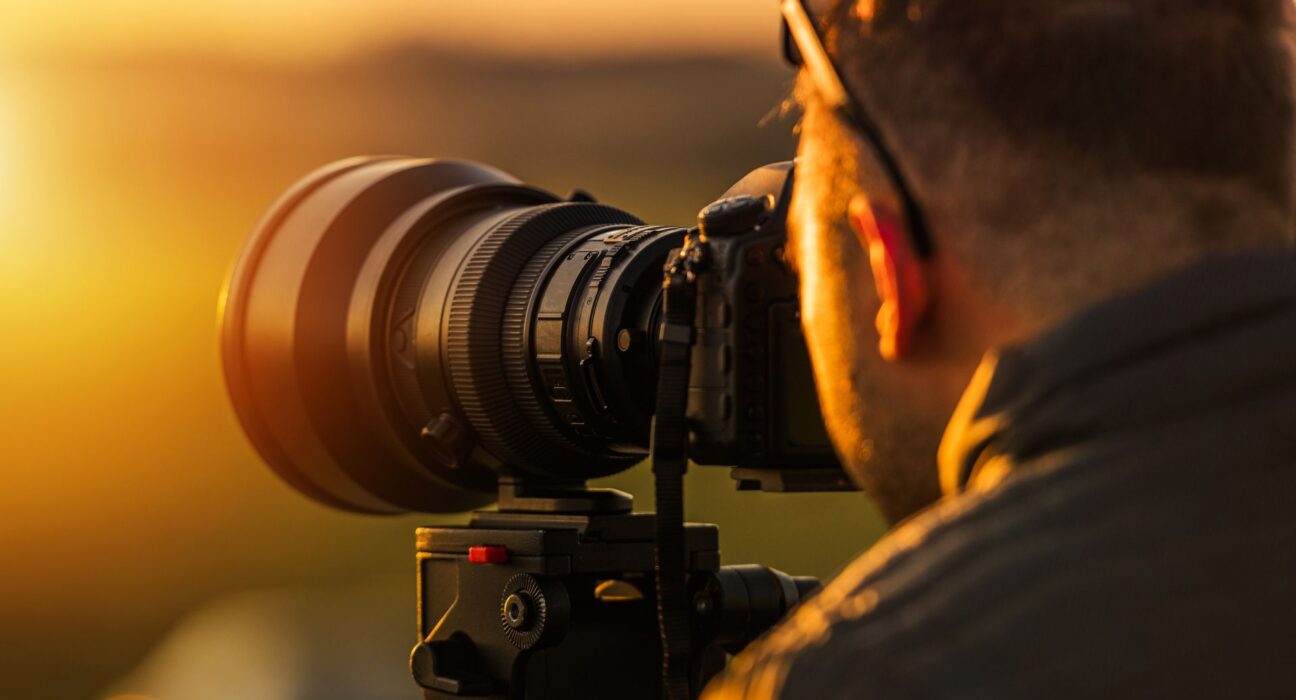
The optimum lighting for taking photos is natural lighting, so avoid using your flash whenever possible. Light is the most crucial component that can determine how well a shot turns out. Simple: Your camera will have more to work with the more light entering the lens. Of course, the sun's light is the best sort (strange how that is since it is always present).
The colour “temperature” of the sun can change during the day from cool to warm. If at all possible, try to stay out of the midday sun because it is a touch harsh and heads straight down, which isn't as attractive. The ‘golden hour' is one of the times of day that many photographers prefer. It is the period of time immediately following dawn and one hour before nightfall. Due to the Sun's warmest colour temperature, the golden hour offers your subject a warm glow and is extremely flattering for portraits and landscapes. Midday and late afternoon are also ideal times to take shots since the longer shadows give the images a lot more depth.
2. Composition
Even with the best equipment, you can't guarantee that your photograph will be intriguing if you don't have a sense of composition. Here are some composition basics to get you started (but there are many theories available to assist direct your eye).
a. Rule of Thirds
The traditional “rule of thirds” is a common photography technique. Imagine that the area you can view through your lens is divided into a grid of nine squares by three horizontal lines and three vertical lines. In fact, it's even simpler to display the thirds on the screen with the majority of digital cameras with screens and even certain mobile devices! The strongest focal points in your image are the four spots where these lines meet, with the lines themselves coming in as a close second. The focus of your photograph should be in this area. This applies to both foreground objects and background elements, such as horizon lines in landscapes.
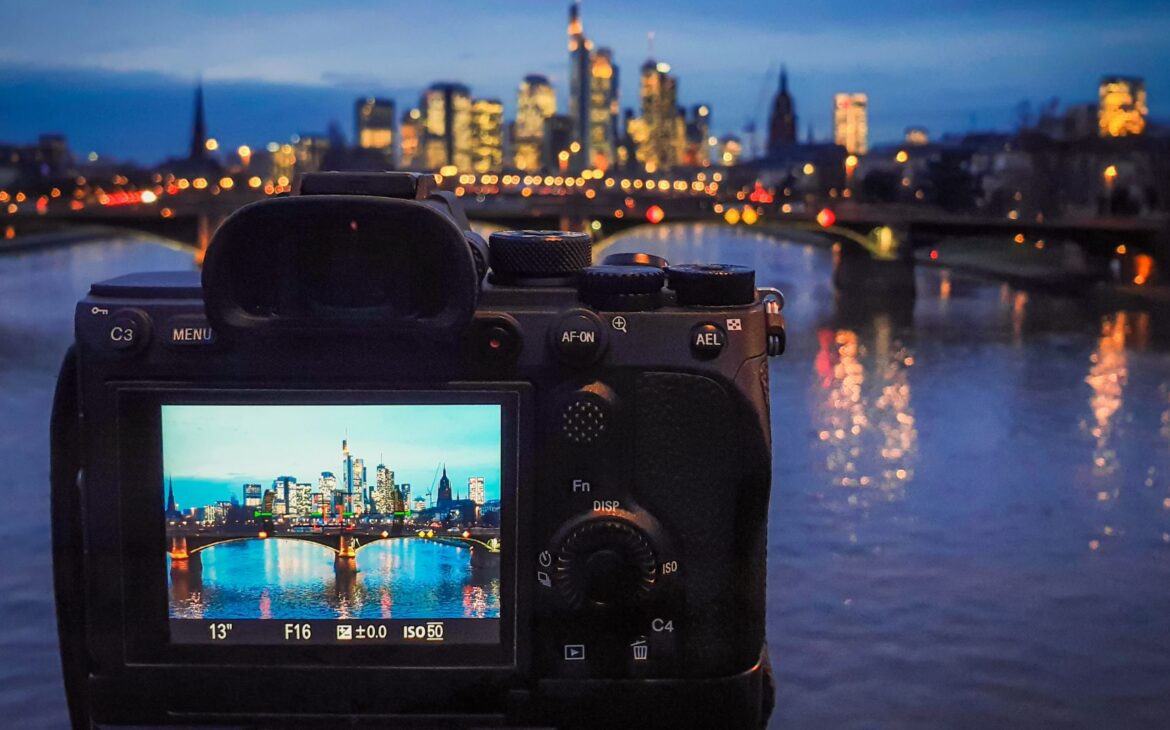
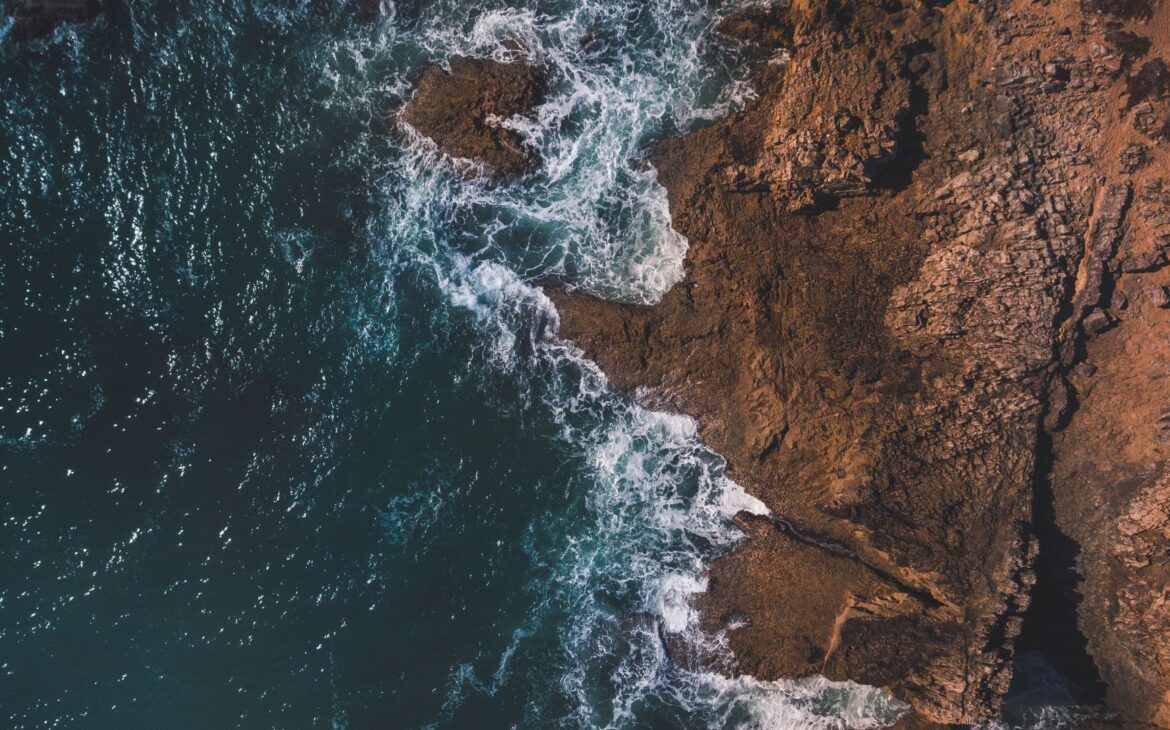
b. Symmetry
If you spot a symmetrical composition, you may want to break the rule of thirds and go for an entirely centred composition. Things like buildings, roads and reflections often look satisfying with a centred composition and can be quite mesmerising (think perfect reflections on the water).
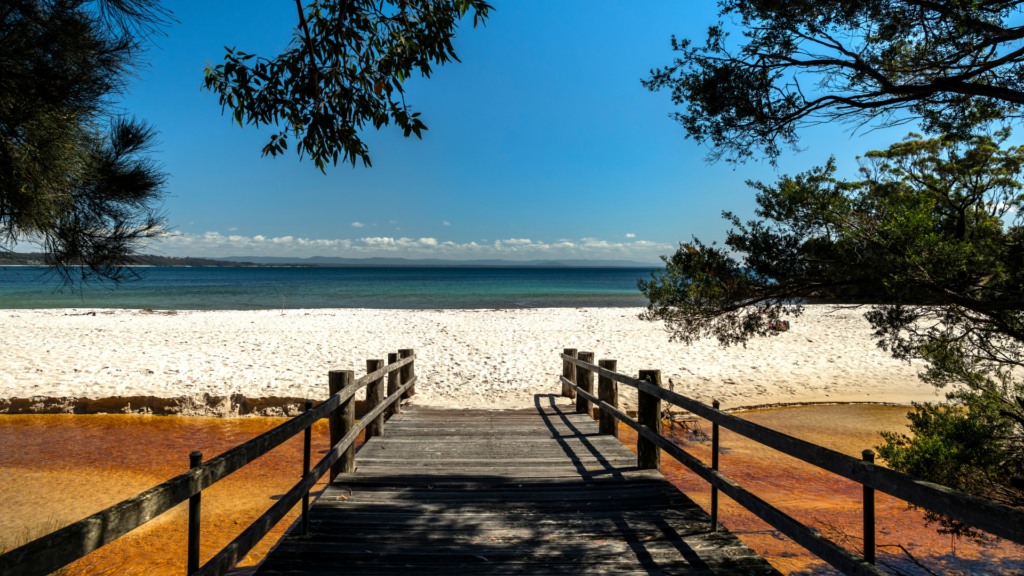
c. Leading Lines
The concept of “leading lines” is another compositional foundation. This occurs when lines, whether natural or artificial, attract the eye to the topic (or to the distance), as the name would imply. ‘Leading lines' typically begin at the bottom side of a photograph and direct your gaze up and over. This is excellent for trains curving along a track and massive buildings going away from you. These guidelines should only be used as a starting point for your composition. Some regulations, like many other things in life, are made to be broken. You can start to explore more once you obtain a sense of what composition works best for each shot. But these guidelines are a terrific place to start if you want to improve your photographs from being ordinary to outstanding.
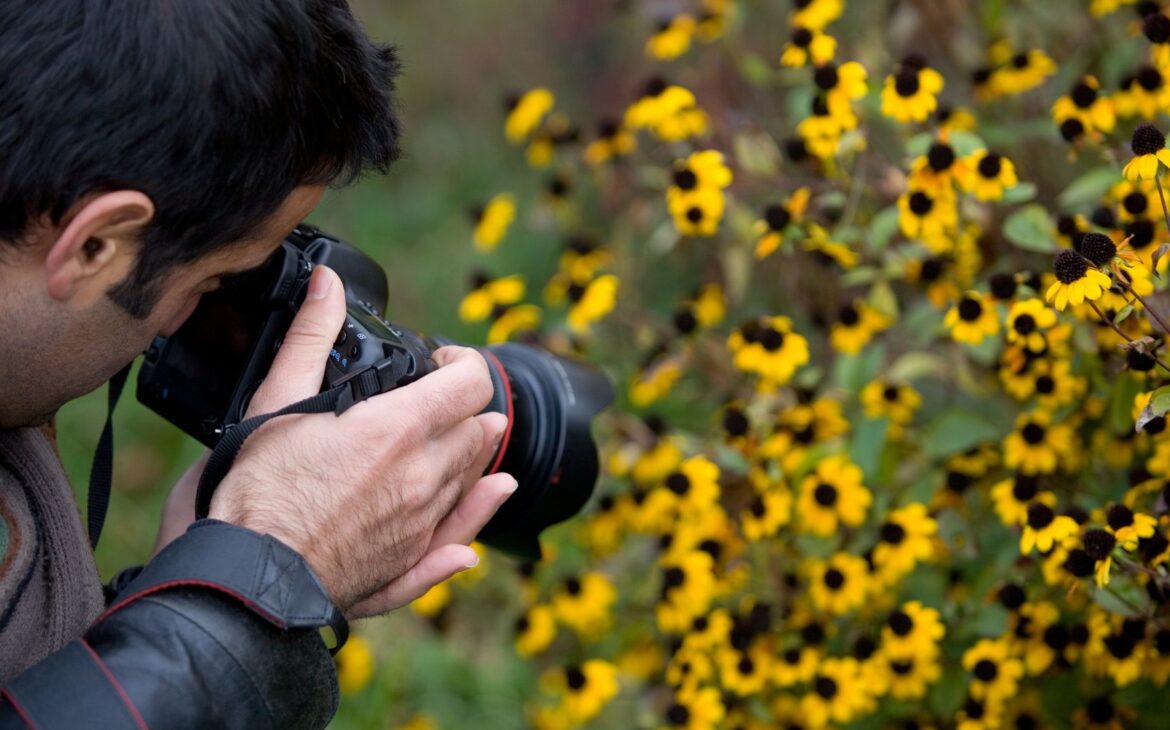
3. Depth
When photographing people or up-close images of tiny, intricate, and detailed objects like flowers, insects, or mushrooms in this example, depth of field can add flair (and, er, depth!) to the image. With an SLR camera, you can easily adjust the aperture to get different depths of field. However, a simple cell phone can be used to capture artistic images. By stepping closer to your subject and snapping the picture from a lower angle, you can change the depth of the image. What you'll discover is that because it's out of focus and shows more of your background, your subject will POP out of it.
What to pack for a road trip – Tips Here
4. Take lots of pictures
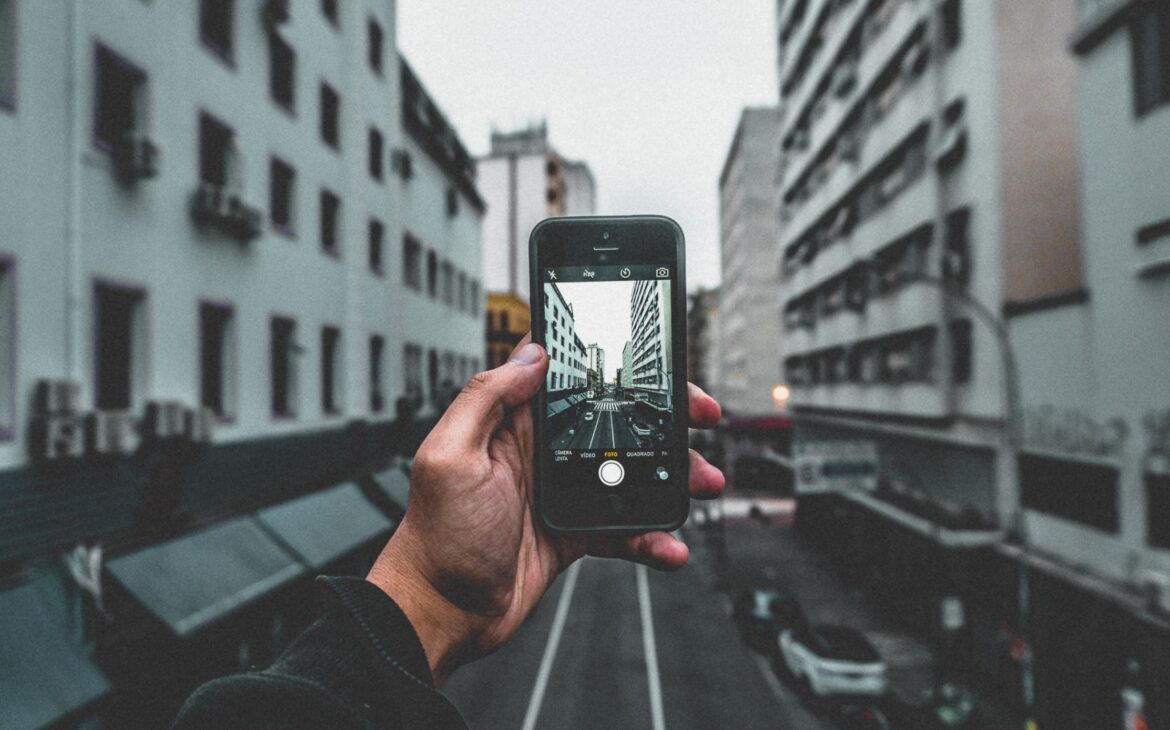
a. Be prepared
You'll need to take some shots in order to return home with a memory card full of amazing pictures (obviously). This calls for keeping your camera close at hand and remembering to bring it along. Smaller cameras, and even better, mobile phones, excel in this situation. A compact camera can be slipped into a pocket or bag with ease, and if you find yourself in a situation where you don't feel comfortable carrying a visible camera, a phone can be quickly slipped back into your pocket. Consider the gear you want to bring with you before buying it. There is no use in buying a fancy camera that you won't use. I advise bringing a wrist strap to connect to a larger DSLR since it makes it easier to handle the camera without having to dangle it uncomfortably around your neck and prevents people from snatching it (or even dropping it, he claims from experience).
To save money for travel – Visit here
b. Don’t stop!
You may believe you have the shot if you look at the screen, say, “That looks good,” and then stop. Take much more than you think you need, in my opinion. Due to the small size of mobile phone (and DSLR) screens, a photograph may appear to be in focus when it is not. Take a couple more; you never know when you might have a crisper shot, a slightly better composition, or a positive response from that passerby. To make an interesting composition, take numerous pictures from various perspectives and don't be afraid to get lower, higher, or closer to a nearby building. The benefit of digital cameras is that you can shoot thousands of photos thanks to their enormous digital capacity (and most of them now also take HD+ video, nice!).
5. Be aware of your surroundings
My thinking operates differently when I have my camera with me. I'm seeking fascinating textures, forms, lighting, and plants. Consider odd details, things or individuals that stand out from their environment, dappled light patterns, and intriguing people. As you take more pictures, you'll start to notice the subtle nuances that make a wonderful picture. When travelling, always pause before taking pictures of certain structures or individuals, especially those whose cultures might not value being shot. When in doubt, always ask (or make that familiar motion) for permission.
” Please share your best travel photography advice with us! “